
Minnetonka Wood Flooring has handled hardwood floor recoating for more than 20 years, bringing back dull, lightly scratched floors in Minnetonka, MN homes without sanding them to bare wood. A screen and recoat restores the sheen and the protective layer at a fraction of the cost and time of a full refinish, when the floor is a good candidate for it.
That condition matters. A recoat only works when the wear is in the finish, not the wood, and when a new coat will bond to the old one. We check both before recommending it, and we price a recoat and a full sand side by side on the written quote so the choice is yours.
The quote also lists the finish we will use, the dry time, the cure time and when furniture, rugs and pets can come back. Most recoats are finished in a single working day, but the floor keeps curing for longer than it looks.
Is Your Floor a Candidate for Recoating?
Wear in the Finish, Not the Wood
Good candidates have a dull, scuffed or lightly scratched surface, with the finish still covering the wood everywhere. Fine scratches that catch the light but do not reach the wood, a lost sheen in traffic lanes, and a generally tired look all respond well to a recoat.
If you can see gray, bare wood in traffic areas, the finish has worn through and the wood has started to absorb dirt and moisture. That calls for a full sand and refinish, because a new coat over bare gray wood will not hide it.
Damage a Recoat Will Not Fix
Deep scratches, dents, water stains, pet stains, cupping and color changes from sunlight are in the wood itself. A recoat adds a clear layer over the top but leaves those defects visible. If those are your main concern, a full sand, spot repair or board replacement is the better investment.
Testing Adhesion Before We Commit
The biggest risk with any recoat is poor adhesion. Floors that have been treated with wax, oil soaps, some polish products or acrylic refreshers can prevent the new finish from bonding. We clean and abrade a small, hidden area, apply finish, and test it after it dries.
If the test fails, we tell you before recoating the room. A recoat that does not bond can peel in sheets within weeks, and removing it afterward means a full sand anyway.
How a Screen and Recoat Works
Deep Cleaning
The floor is first cleaned thoroughly to remove dirt, grease and residue from cleaning products. Any contaminant left on the surface will interfere with adhesion, so this step is not just a quick sweep.
We also check the room before starting. Loose boards, raised nail pops and gaps along the walls are noted and addressed first where they can be, since a recoat seals over whatever is on the floor and does not fix movement or damage underneath it.
Abrading the Existing Finish
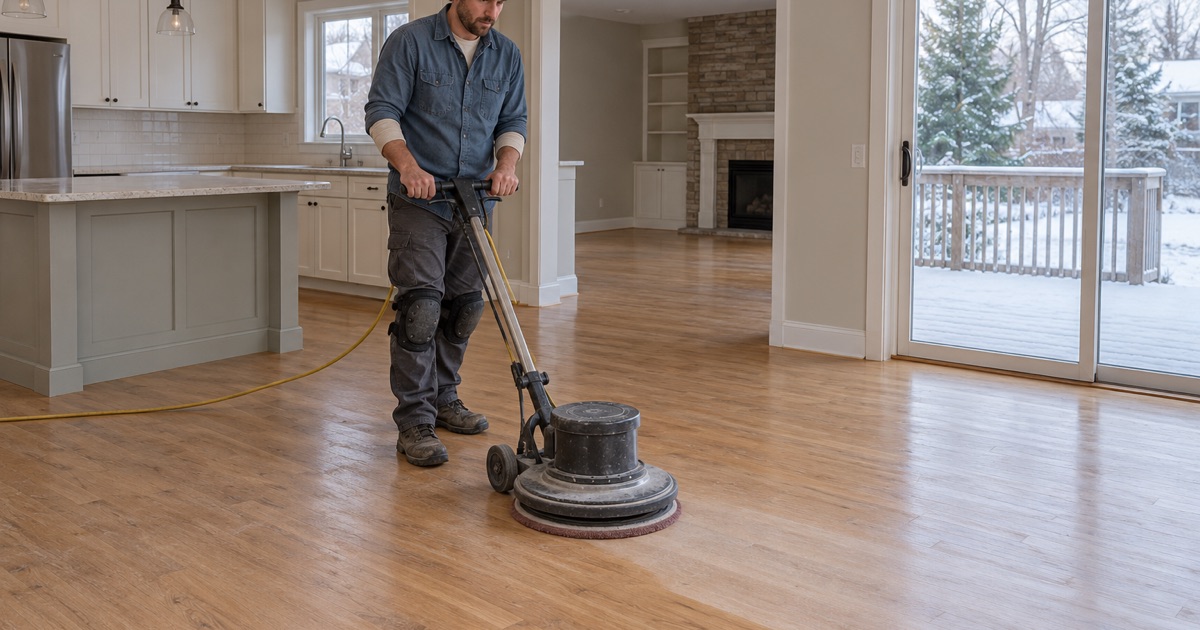
We use a buffer fitted with an abrasive screen or pad to lightly scuff the entire surface. This removes the gloss and creates a texture the new finish can grip. Edges and corners are abraded by hand. No meaningful amount of wood is removed, which makes recoating safe for engineered floors with thin wear layers.
Applying the New Coat
After vacuuming and tacking up the dust, we apply a fresh coat of finish compatible with the existing one. Waterborne polyurethane is common for recoats because it dries quickly, stays clear and has a mild odor. Some floors receive two coats where the existing finish is especially thin.
The room is kept free of dust and traffic while the coat dries, and we cut in along the walls by hand before rolling or padding the field. Lap marks and dust nibs are what make a recoat look patchy, so the application is planned room by room to keep a wet edge.
Finish, Sheen and Timing
Matching the Existing Finish
The new coat should be compatible with what is already on the floor. Oil-modified polyurethane can be recoated with oil-modified or with some waterborne products after proper preparation, while hardwax oil floors are refreshed with a maintenance oil rather than a polyurethane coat. We identify the existing finish before choosing a product.
Changing the Sheen
A recoat is a good chance to change sheen without sanding. Moving from gloss to satin or matte hides scratches and dust better in busy rooms, while a higher sheen gives a more polished look. Color, however, cannot be changed with a recoat, since the stain is in the wood beneath the finish.
Dry Time and Cure Time
Most recoats are applied in one day, and many floors can be walked on in socks within hours. Furniture with felt pads usually returns after a day or more, and rugs wait longest because the finish keeps curing underneath. We write those times for your specific finish on the quote.
Recoating as Maintenance
Recoat Before the Finish Wears Through
Recoating at the right time can postpone a full sand for years. The best moment is when traffic lanes look dull but the finish is still intact. Waiting until wood is exposed turns an inexpensive maintenance job into a much larger refinishing job.
For homes with pets, children or a busy entry, recoating the main traffic areas on a regular cycle is often the most economical way to keep the floor protected. We note on the quote which rooms are wearing fastest, so the next recoat can be planned before those areas reach bare wood.
Engineered and Prefinished Floors
Recoating is often the only refinishing option for engineered floors with thin wear layers, and we measure the wear layer to confirm. Prefinished floors with hard factory finishes need careful abrasion and adhesion testing, and some require a bonding product before the new coat.
Keeping the New Finish Looking Good
After a recoat, felt pads under furniture, mats at entrances and cleaners recommended by the finish manufacturer help the new coat last. Avoid wax, oil soaps and products promising shine, since they can prevent the next recoat from bonding. Keeping indoor humidity in the thirty to fifty percent range also reduces seasonal gapping that can stress the finish at board edges.
- 20+ Years on Wood Floors
- Per-Square-Foot Written Quotes
- Stairs Priced Per Tread